Table of Contents
- 1. TL;DR — Top 3 Must-Hit Spots
- 2. Exterior Photo Spots (1-4)
- 3. Interior Photo Spots (5-8)
- 4. Secret / Hidden Spots (9-12)
- 5. Hidden Viewpoints Tourists Miss (3 viewpoints)
- 6. Best Light: Time-of-Day Guide
- 7. Phone Photography Tips
- 8. Camera Gear Recommendations
- 9. Photography Rules & Restrictions
- 10. FAQ
Where to buy Colosseum tickets
Start with the official Colosseum site, then compare Tiqets, Klook, and Trip.com — trusted booking partners — if official tickets are sold out.
OfficialColosseum SiteFace-value timed tickets from the official source.Official TicketsPartnerTiqetsTours and skip-the-line tickets when official slots are gone.Check PricesPartnerKlookAnother strong backup for sold-out dates and tours.Check PricesPartnerTrip.comUseful for comparing availability and bundles.Check PricesTL;DR — Top 3 Must-Hit Spots
🥇Oppian Hill Park at SunsetThe iconic elevated panorama with pine trees. Golden hour makes the stone glow.🥈Level 1 Arena Overlook (Inside)The classic interior shot — arena, underground tunnels, dramatic shadows.🥉Via Nicola Salvi (Morning)The clean, symmetrical exterior shot with morning sun on the facade.Exterior Photo Spots
1Oppian Hill Park (Parco del Colle Oppio)
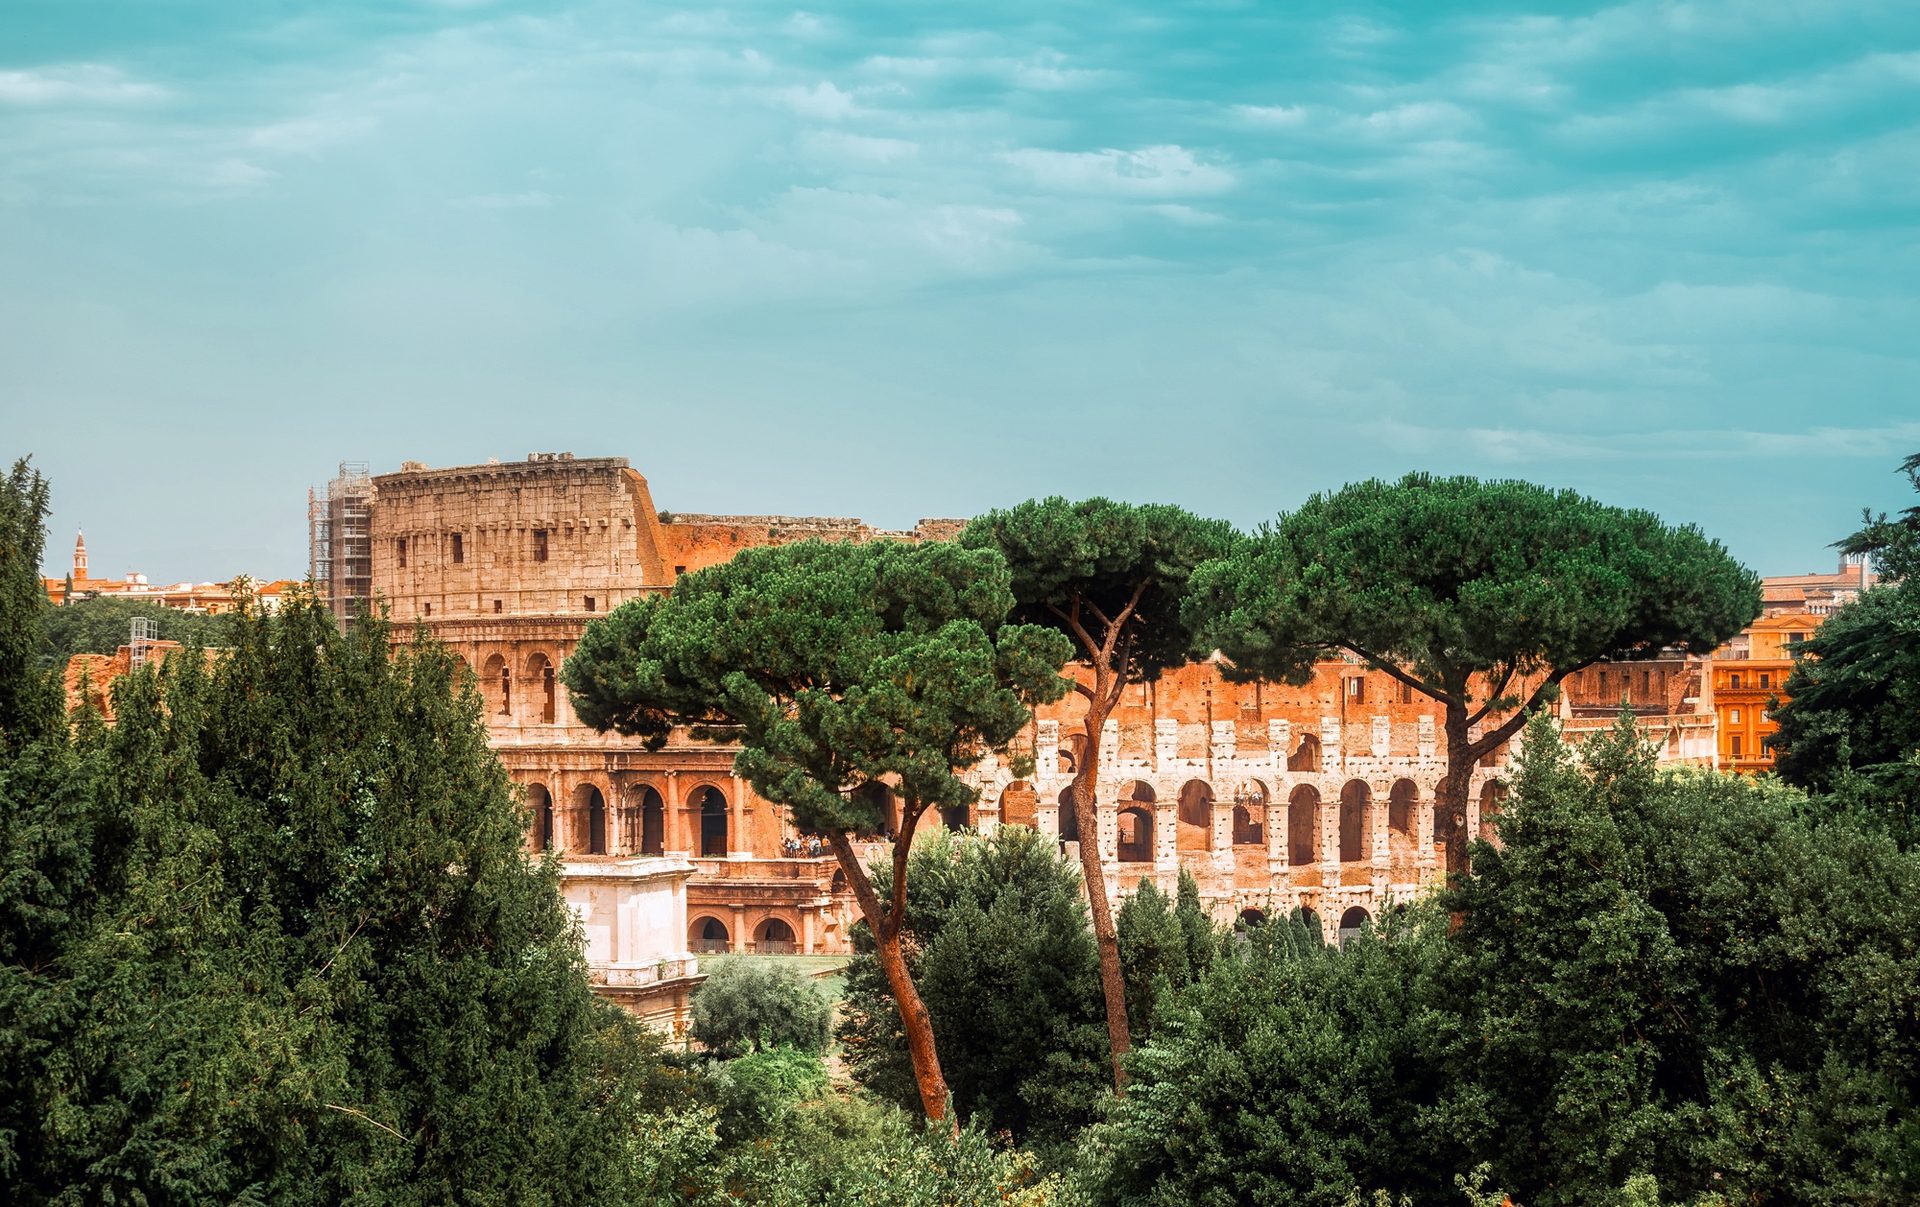
A popular elevated viewpoint that frames the entire Colosseum with Mediterranean pine trees in the foreground. At sunset, the stone turns golden-orange.
📷 Pro tip: Walk up the hill and find the clearing with park benches facing the Colosseum. The best angle is from the northeastern corner. Arrive 45 min before sunset to claim a good position.
Best for: Panoramas, sunset shots, couple photos2Via Nicola Salvi Viewpoint
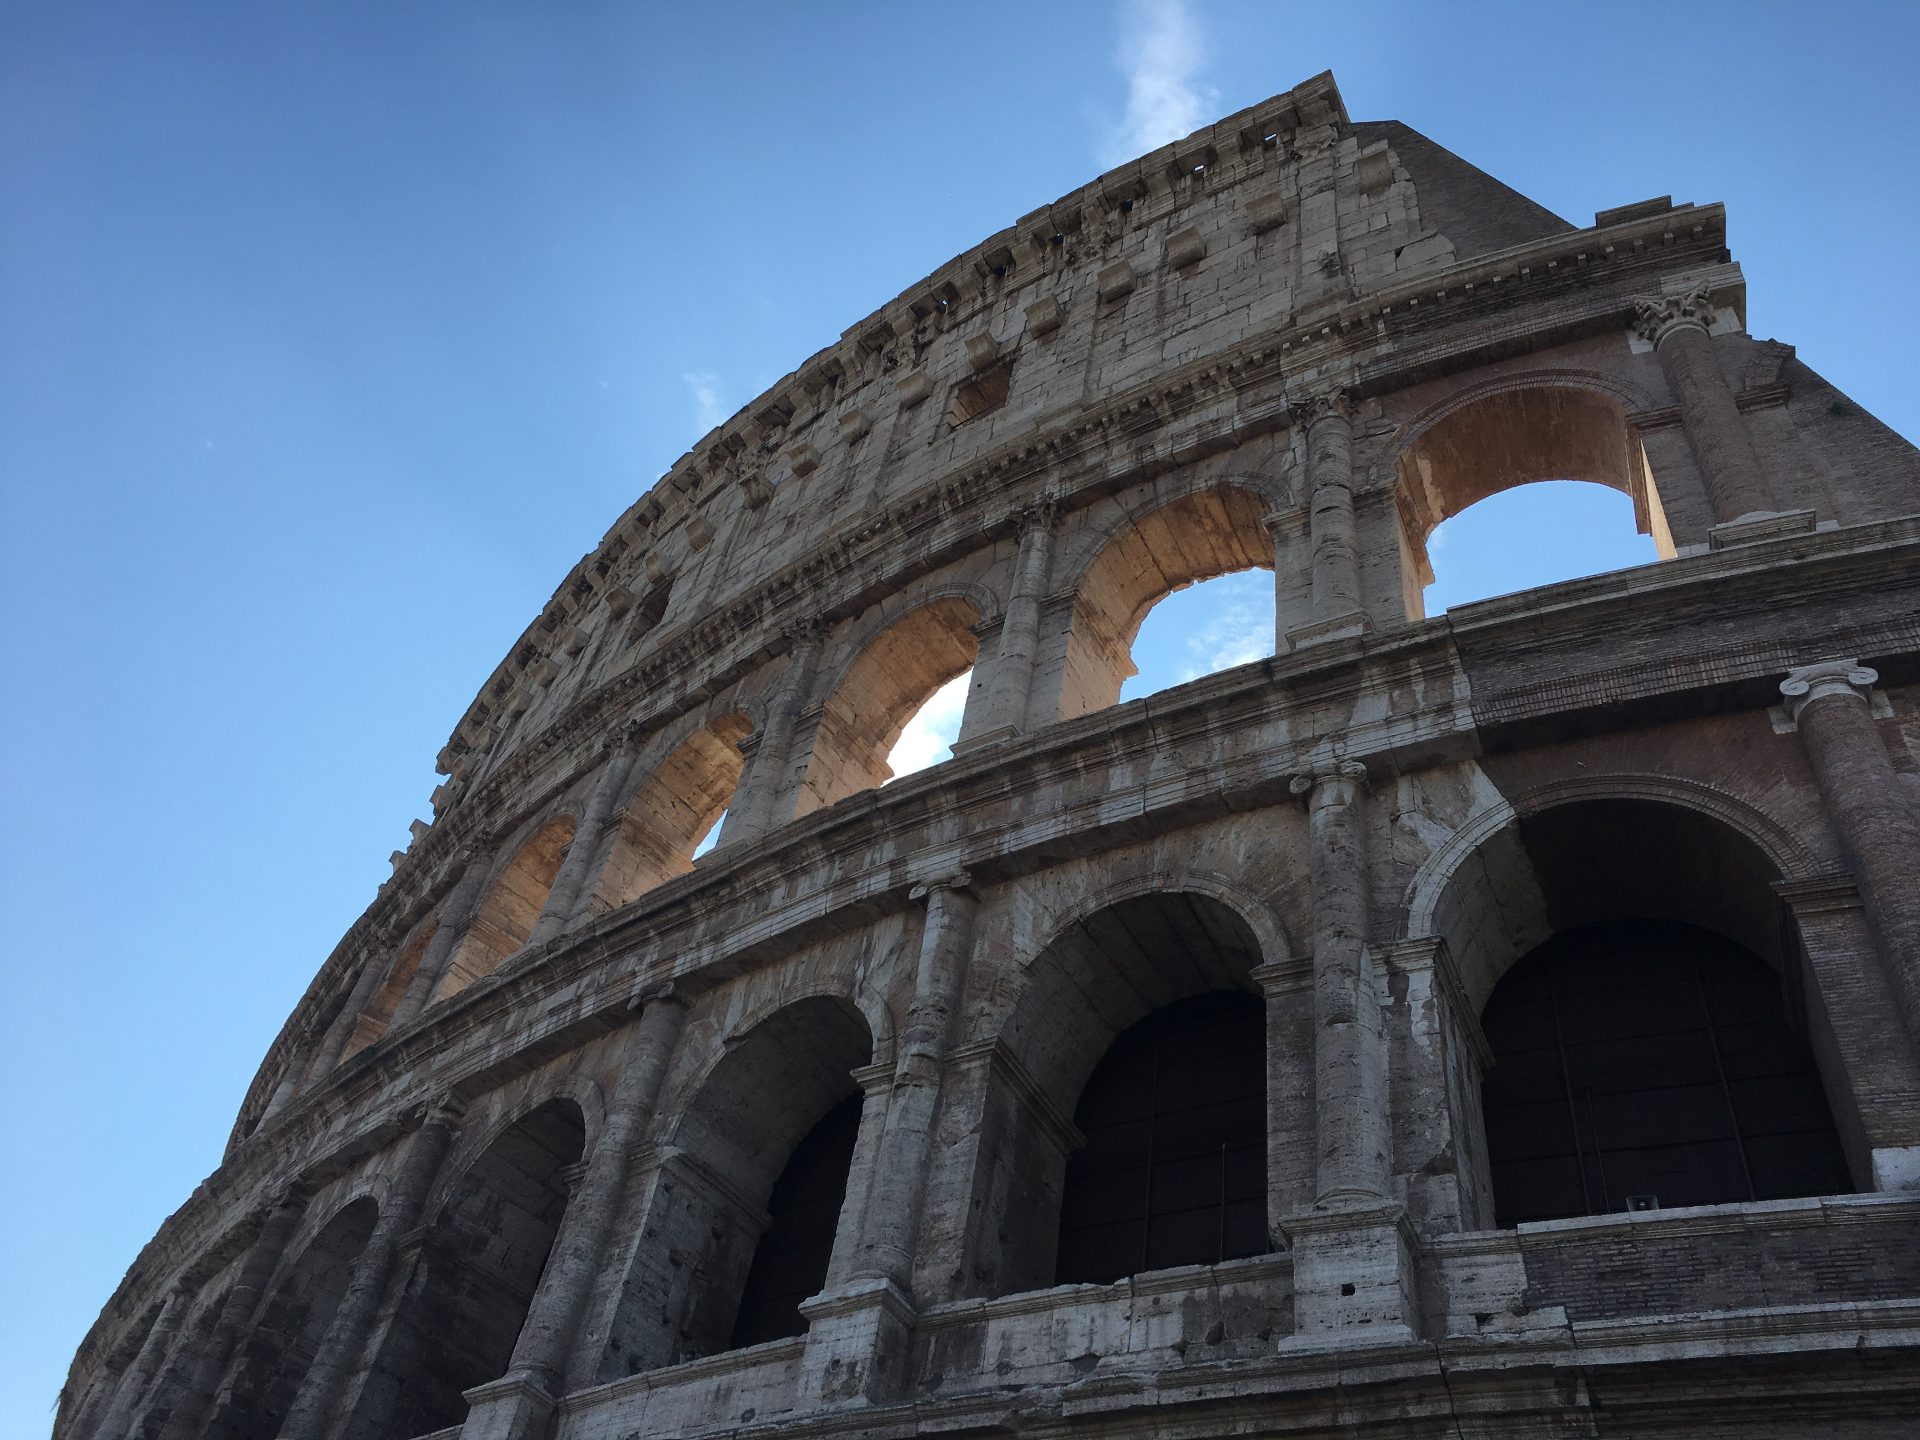
The classic straight-on view of the Colosseum that you see on every postcard. Located on the southeast side, this elevated street gives you the full monument without obstruction. Morning light hits the facade directly.
📷 Pro tip: Stand on the slightly elevated pavement on the east side of the street. Morning light (8-10 AM) is best — the sun illuminates the full facade. Very few people come here early.
Best for: Classic portraits, clean backgrounds, symmetry3Arch of Constantine

Frame the Colosseum through or alongside the triumphal Arch of Constantine. This creates a layered composition with two ancient monuments in one shot. The arch also provides shade for portraits.
📷 Pro tip: Position yourself to get both the arch and Colosseum in frame — a wide-angle or 0.5x phone lens works best. The western side of the arch gives the cleanest Colosseum background.
Best for: Two-monument compositions, shaded portraits4Via dei Fori Imperiali
The grand boulevard leading from Piazza Venezia to the Colosseum. Walking toward the Colosseum at sunset, the monument grows larger with each step — creating dramatic perspective shots with the road leading your eye to the monument.
📷 Pro tip: Stand in the central pedestrian zone. Use the road's vanishing lines to create a leading-line composition. The best angle is about 200m from the Colosseum where it fills the frame but the road is still visible.
Best for: Leading lines, perspective shots, walking-toward shotsInterior Photo Spots
5Level 1 Arena Overlook
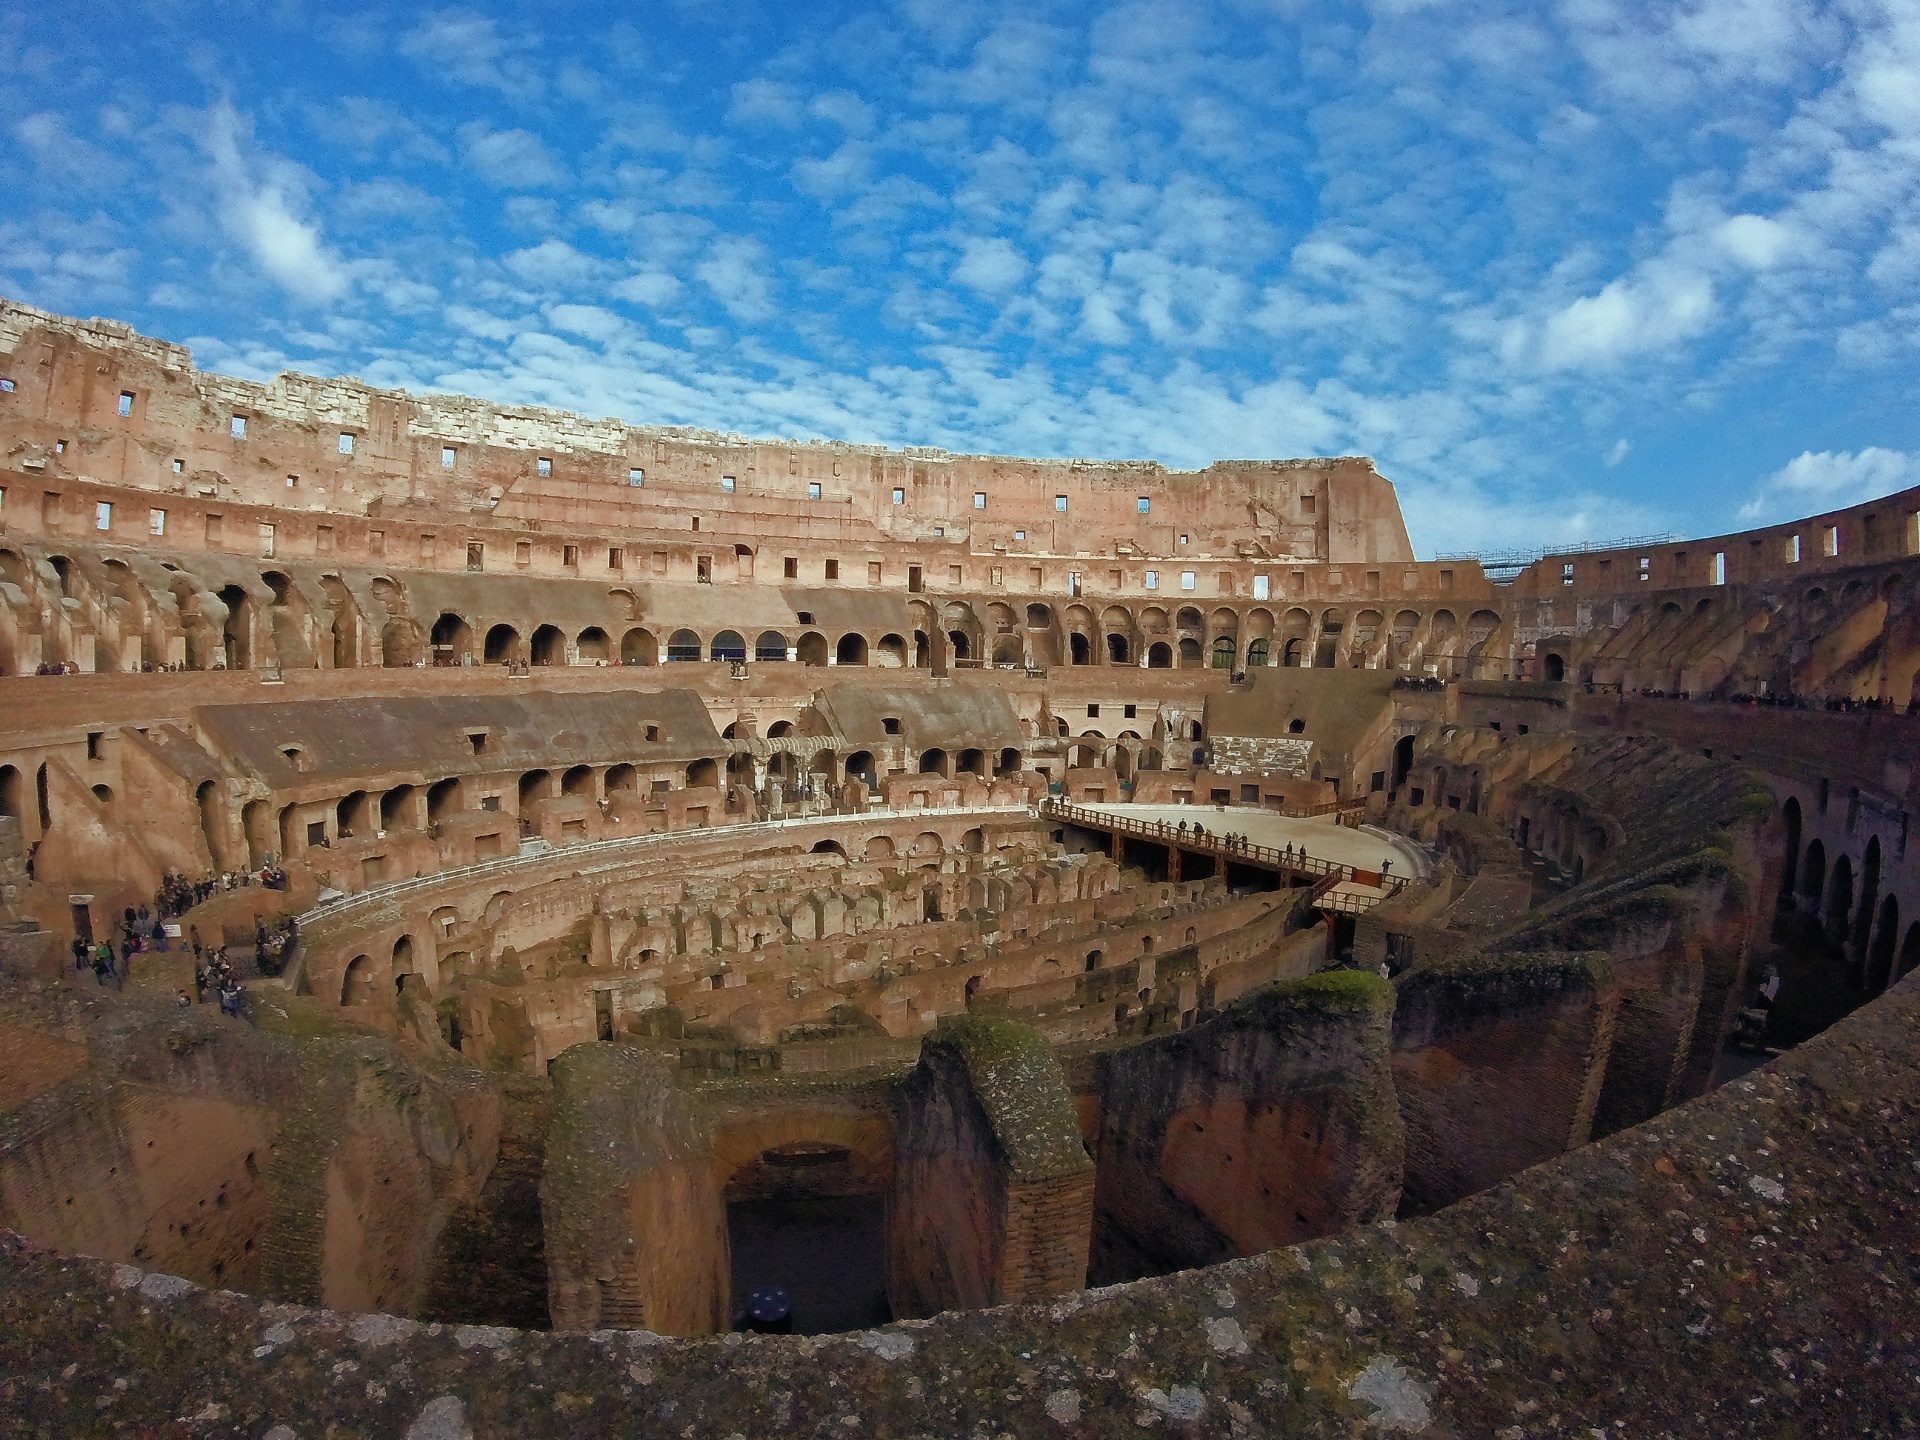
The most iconic interior shot — looking down at the arena floor and the exposed underground tunnel network (hypogeum). The morning sun rakes across the ruins, creating dramatic shadows and texture. This is the shot that makes people gasp.
📷 Pro tip: Walk to the eastern side of Level 1 for the best angle. The morning sun illuminates the underground tunnels. Use HDR mode on your phone to balance the bright sky and shadowed interior.
Best for: The classic interior shot, panoramas6Level 1 Arches (Arch Framing)
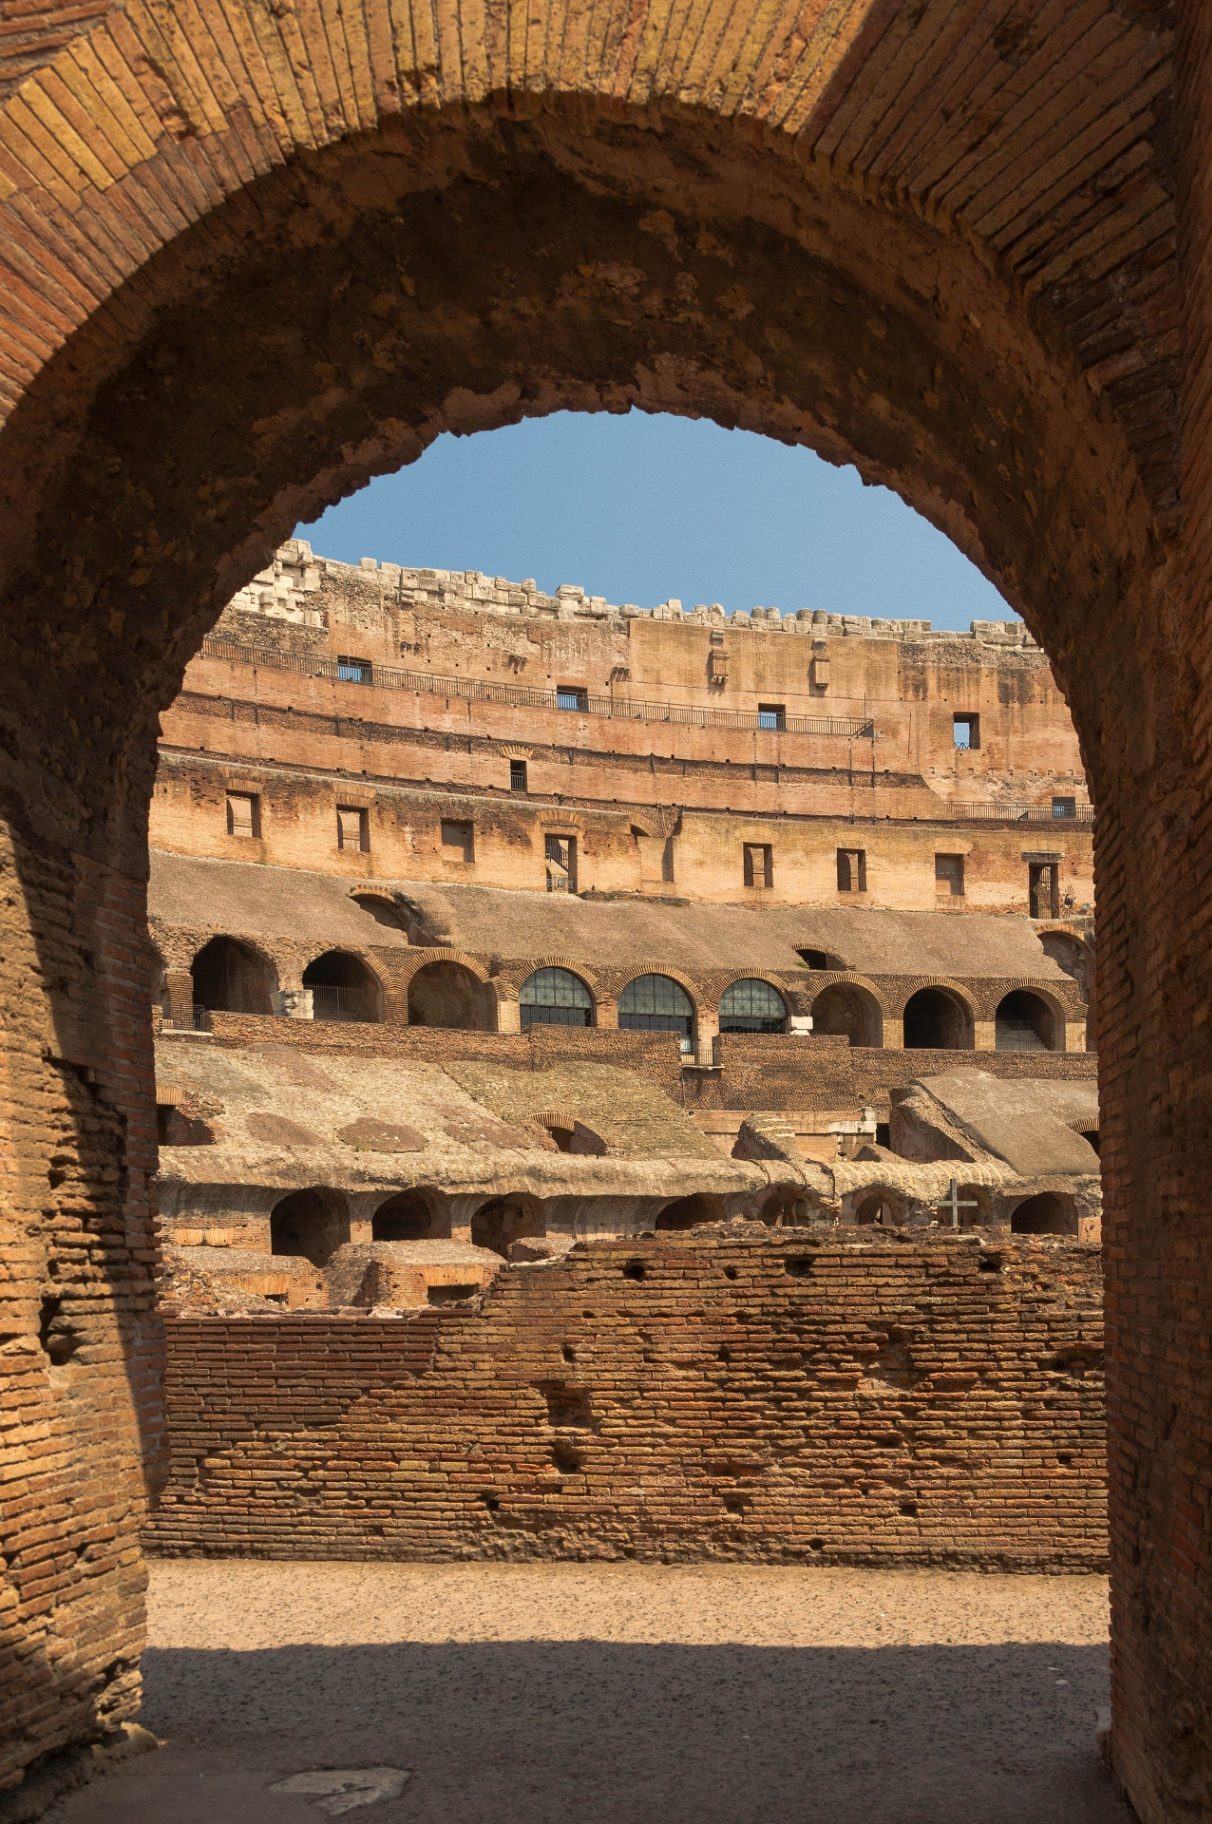
Stand inside one of the massive stone arches on Level 1 and use the arch as a natural frame. This works equally well for portraits (frame a person inside the arch) or landscape shots (frame the arena view through the arch).
📷 Pro tip: Find an arch where the background is the arena or the opposite side of the Colosseum — not the sky. The contrast between the dark arch shadow and bright interior creates a natural vignette effect.
Best for: Portraits, artistic framing, couples' shots7Underground Tunnels (Hypogeum)
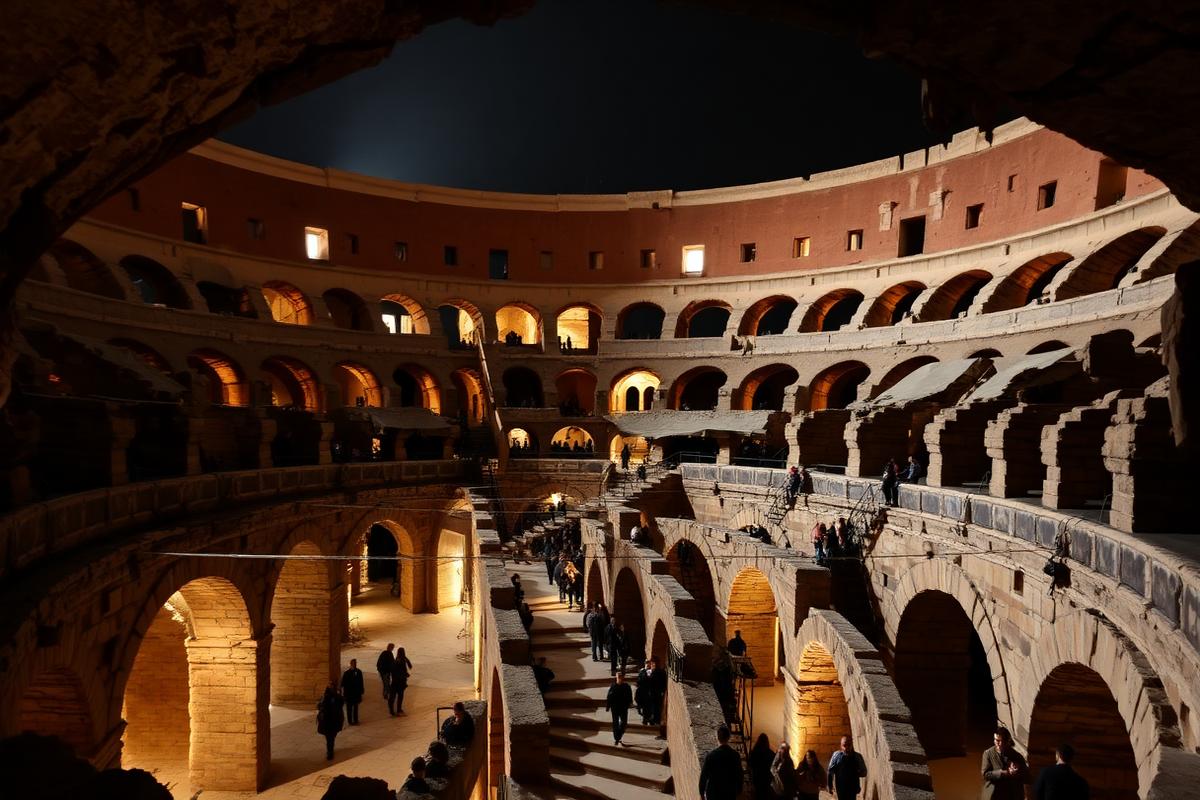
If you book the underground tour, the narrow brick tunnels where gladiators waited create atmospheric, moody photos. The cramped corridors, ancient brickwork, and filtered light from above are incredibly photogenic.
📷 Pro tip: Use your phone's Night Mode or increase ISO — the tunnels are dark. Note: tripods, monopods and selfie sticks require formal authorization inside the archaeological park and are generally not permitted for standard visitors. Bracing your phone against a wall or column is the practical workaround.
Best for: Atmospheric shots, history enthusiasts, moody photography8Upper Level (Level 2) Panoramic Views

The highest level on the standard visitor route gives you a birds-eye perspective over the arena AND panoramic views across Rome — you can see the Roman Forum, Palatine Hill, and even St. Peter's dome from here. The Attic ticket unlocks access beyond Level 2.
📷 Pro tip: Reachable by stairs or by elevator (elevators serve the entire second tier for visitors with mobility needs). Less crowded than Level 1. Shoot both inward (arena view from above) and outward (Rome skyline). A zoom lens or 2x phone zoom captures distant landmarks.
Best for: Panoramas, city skyline, elevated arena viewsSecret / Hidden Spots
9Reflected Puddle Shot (After Rain)
Best time: After rain (rare but magical)After a rain shower, puddles form on the ancient stone piazza around the Colosseum. Get low to the ground and photograph the Colosseum's reflection in the puddle — this creates a stunning mirror effect that very few visitors capture.
📷 Pro tip: Works best at the flat area between the Colosseum and Metro B exit. Use your phone upside-down, camera lens near the puddle. Burst mode helps find the perfect reflection.
Best for: Unique shots, Instagram-worthy, reflections10Via di San Giovanni in Laterano
Best time: Morning or eveningThis narrow street southeast of the Colosseum lets you frame the monument at the end of a cobblestone Roman street — creating a layered urban composition with apartment buildings, balconies, and the Colosseum rising behind.
📷 Pro tip: Walk down the street AWAY from the Colosseum, then turn around — the monument appears framed between the buildings. The narrower the street section, the more dramatic the framing.
Best for: Street photography, Rome-meets-ancient compositions11Metro B Exit (Underground to Daylight)
Best time: Any timeAs you exit the Colosseo Metro station, the Colosseum suddenly fills your entire field of vision. This 'reveal moment' — emerging from underground to face an ancient wonder — is uniquely photogenic and captures the tourist experience perfectly.
📷 Pro tip: Have your camera ready as you walk up the Metro exit stairs. Shoot FROM the stairs looking up and out at the Colosseum. Include the Metro sign in the foreground for a modern/ancient contrast.
Best for: Storytelling, modern/ancient contrast, the 'reveal' moment12Night Photography from Oppian Hill
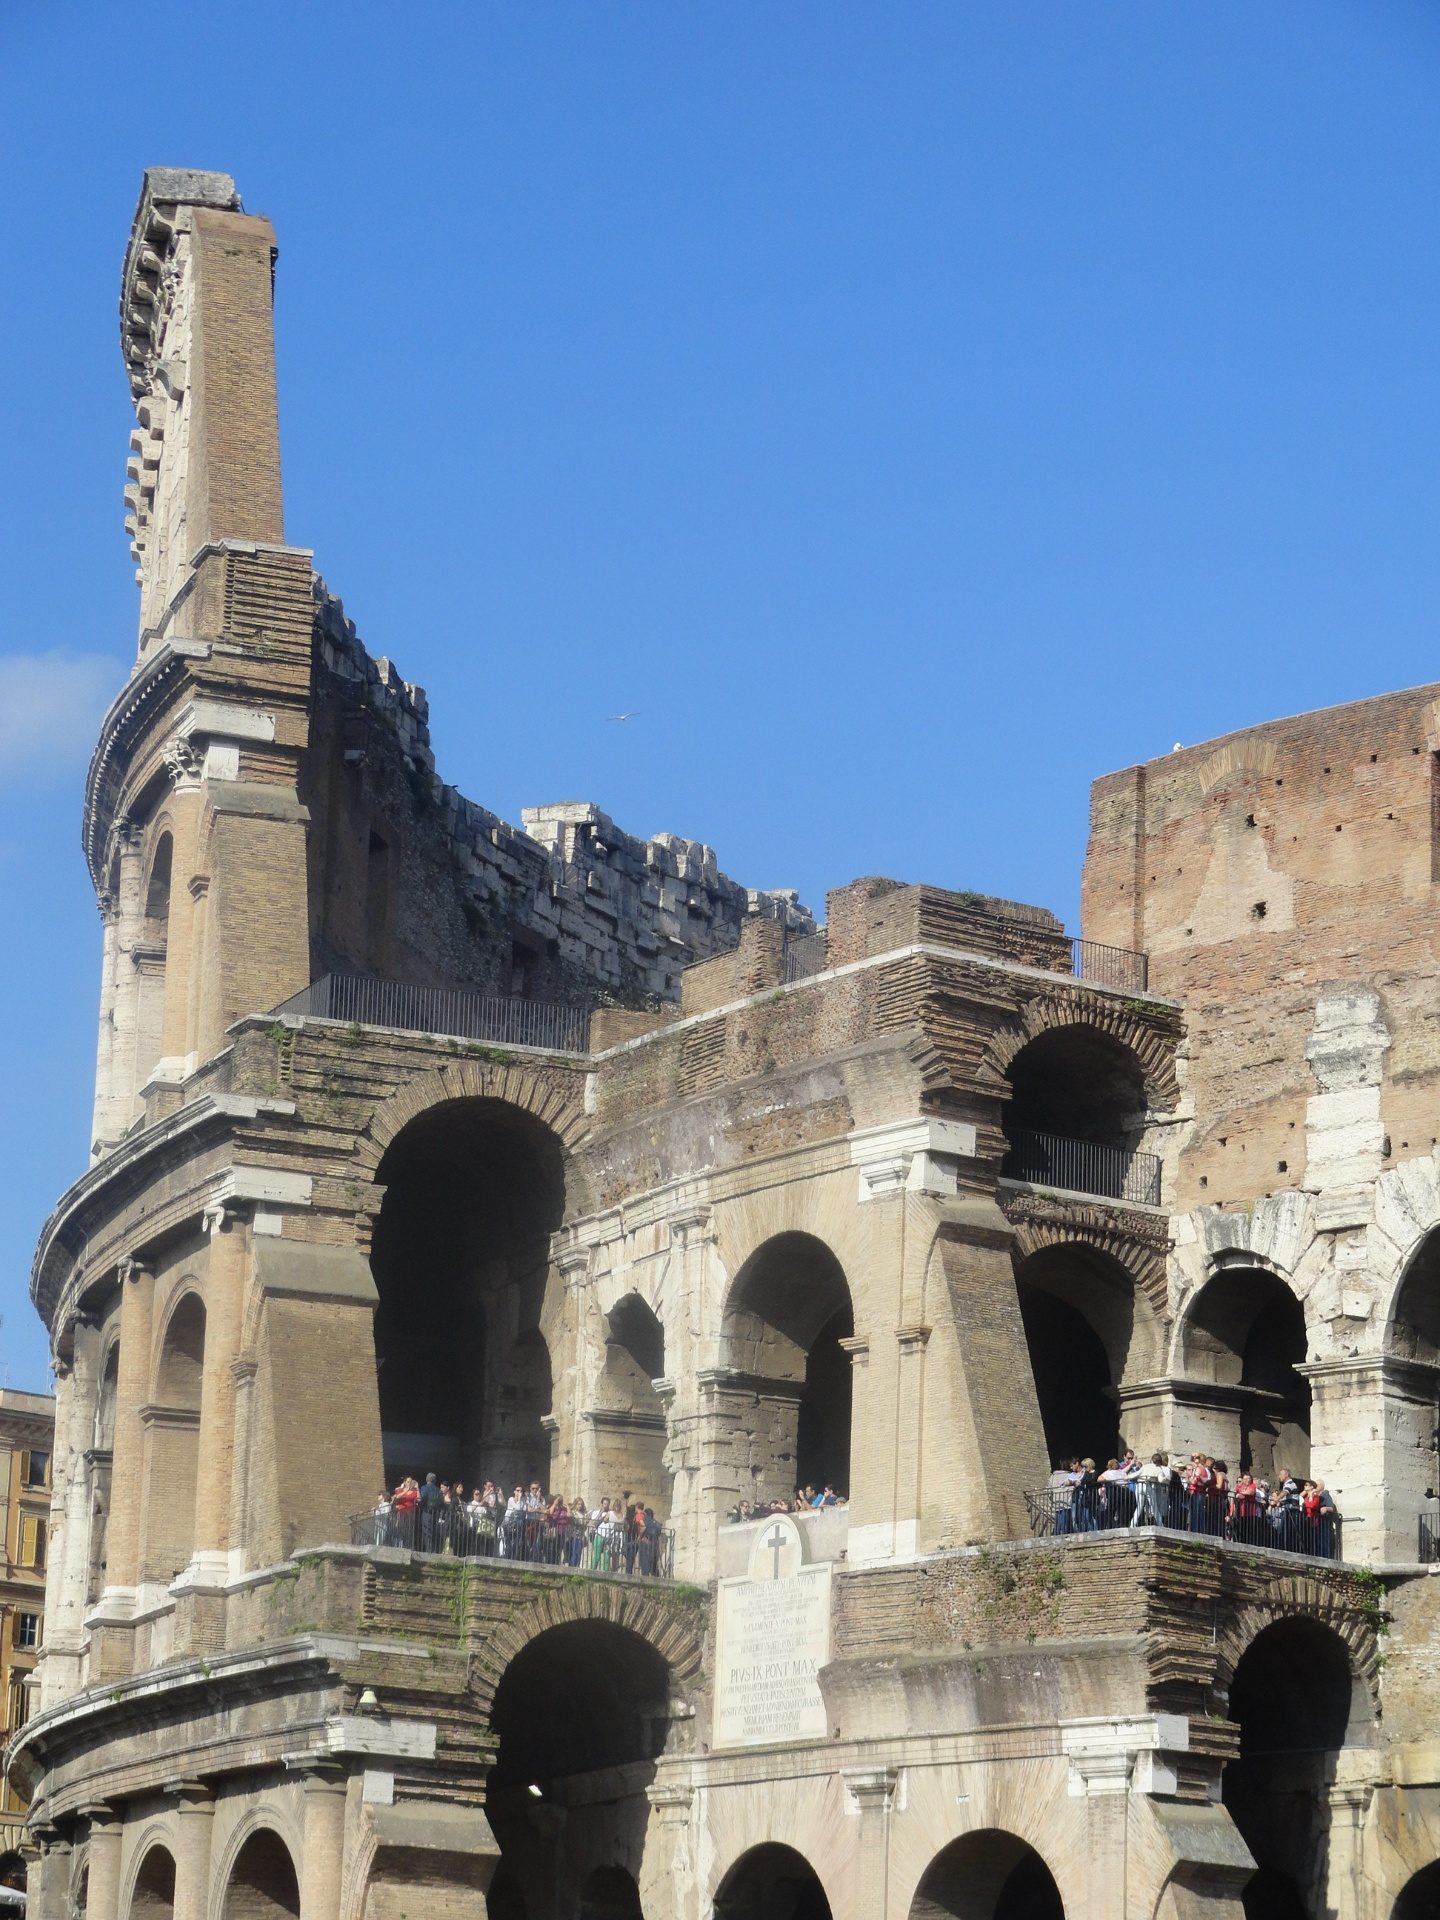
The Colosseum is illuminated every night and glows warm gold against the deep blue or black sky. From Oppian Hill, you get the elevation and distance for a perfect night shot without streetlight interference.
📷 Pro tip: Use Night Mode on iPhone/Android. If using a camera, try 2-4 second exposure at ISO 400-800, f/4-5.6. A small tripod makes a huge difference. Blue hour (30 min after sunset) gives the most dramatic sky color.
Best for: Night photography, dramatic lighting, long exposureBest Light: Time-of-Day Guide
🌅Sunrise (6:00-7:30 AM)★★★★★Golden light on the east facade. Zero crowds. The stone glows warm orange. Best for Via Nicola Salvi and the eastern exterior.
📅 Summer: 5:45 AM / Winter: 7:15 AM
☀️Morning (8:30-10:30 AM)★★★★Strong directional light — great for interior shots. Shadows create depth and texture on the ancient stone. Crowds starting to build.
📅 Good year-round
🔆Midday (11 AM-2 PM)★★Harsh overhead light — least photogenic time. Deep shadows under arches, blown-out sky. Best avoided for exterior shots. Interior underground is fine (no sunlight).
📅 Worst in summer
🌤️Golden Hour (4-6 PM)★★★★★Warm, directional light from the west. Perfect for Oppian Hill and the western exterior. Crowds thinning. The best balance of light quality and accessibility.
📅 Summer: 5-7 PM / Winter: 3-4:30 PM
🌆Blue Hour (30 min after sunset)★★★★★The sky turns deep blue while the Colosseum illumination glows warm gold. This 20-30 minute window creates the most dramatic contrast. Phone Night Mode or tripod essential.
📅 Timing varies — check sunset time
🌙Night (after dark)★★★★The illuminated Colosseum against a black sky. Dramatic and moody. Requires Night Mode or tripod. Oppian Hill is the best night viewpoint.
📅 Year-round — check local lighting conditions and seasonal timing
Phone Photography Tips
Use HDR ModeThe Colosseum has extreme contrast between bright sky and dark interior. HDR balances both, keeping detail in shadows and highlights. Turn it ON for every shot.0.5x Ultra-Wide LensThe Colosseum is MASSIVE. Your standard lens can't capture it all from up close. Switch to the ultra-wide (0.5x) lens for full interior panoramas and close-up exterior shots.Enable Grid LinesTurn on the 3x3 grid in your camera settings. Place the Colosseum along the top or bottom third line — NOT dead center. This creates a more professional composition.Portrait Mode for PeopleUse Portrait Mode when photographing people with the Colosseum behind them. The artificial bokeh (background blur) separates the person from the monument beautifully.Night ModeFor evening/night shots, enable Night Mode (automatic on most modern phones). Hold very still for 3-5 seconds. Brace your phone against a railing or wall for stability.Burst Mode for ActionIn crowded areas, use Burst Mode (hold the shutter button) to capture multiple frames. You'll get at least one shot without someone walking into frame.Clean Your LensSeriously — wipe your phone lens with your shirt before shooting. Fingerprints cause haze and reduce sharpness, especially in backlit situations.Camera Gear Recommendations
Phone + Mini TripodCasualAll you really need. Modern phones take excellent photos. A mini tripod enables self-portraits and night shots.€5-15 (tripod)Wide-Angle Lens (16-35mm)EnthusiastThe ideal focal range for the Colosseum. Captures the full monument from close range and sweeping interior panoramas.€300-800Telephoto (70-200mm)EnthusiastFor architectural details — the carved stone capitals, individual arches, and texture shots that wide-angles miss.€500-2000Travel TripodNight/SunsetEssential for exterior night photography and long exposures. Inside the archaeological park, tripods and monopods require formal authorization from the Parco archeologico del Colosseo, so treat them as an outdoor tool for surrounding streets and viewpoints.€30-150Photography Rules & Restrictions
Personal photographyPhone and camera photography for personal use is allowed inside and outside.✅ AllowedFlash photographyFlash is permitted for personal photography. It rarely improves photos in the Colosseum — natural light looks better.✅ Generally allowedVideo recordingPersonal video (phone, GoPro, small cameras) is fine. Stabilizers/gimbals depend on staff discretion.✅ Personal useTripods, monopods & selfie sticksInside the archaeological park, selfie sticks are prohibited and professional optical equipment such as tripods and monopods requires formal authorization from the Parco archeologico del Colosseo. At exterior public viewpoints, normal public-space rules apply.❌ Restricted insideDronesDrone flying is prohibited in the Colosseum area (restricted airspace).❌ ProhibitedCommercial photographyProfessional, fashion or commercial shoots require a permit from the Parco archeologico del Colosseo. Apply well in advance via the official channels.❌ Requires permit🏨 Staying Near the Colosseum?
We researched and ranked the 10 best hotels within walking distance of the Colosseum — from luxury boutiques to affordable gems, all rated 9.0+ by guests.
All rated 9.0+ Within 200m–1.8kmRead: 10 Best Hotels Near the ColosseumCamera Settings That Actually Work at the Colosseum
The Colosseum punishes default camera settings — high contrast between sunlit stone and shaded arches blows out highlights and crushes shadows. On a phone in 2026, turn HDR on for every exterior shot, switch to RAW or ProRAW if your device supports it, and use the 0.5x ultra-wide lens for the full elliptical curve. For interior arena shots, stand at the Level 2 overlook, lock exposure on the underground hypogeum (the shaded centre) and let the sky go bright; you can recover it later in Lightroom Mobile in five seconds. On a mirrorless or DSLR, aperture priority at f/8, ISO 200, and -0.7 exposure compensation protects highlights without sacrificing depth of field. At sunset, switch to manual mode and bracket three frames (-2, 0, +2 EV) — the dynamic range during golden hour is wider than any single exposure can hold. For night photography of the lit-up exterior, a 4-second exposure at f/8, ISO 400 on a small tripod produces tack-sharp results without needing a full camera bag.
Interior shots vs exterior viewpoints — where to focus
If photography is your priority, you'll get very different results from time spent inside vs outside the monument. This is how the two compare for a typical visitor.
Inside the Colosseum (ticket required)
Pros
- •Iconic arena-floor angles
- •Upper-tier wide shots over the hypogeum
- •Soft morning light through the arches
Cons
- •Crowds in every frame after 09:30
- •Tripods and selfie sticks restricted; authorization required
- •Limited time once you're inside
Best for: Travellers who want the recognisable interior shot
Free exterior viewpoints (no ticket)
Pros
- •Oppian Hill and Via Nicola Salvi are free and quiet
- •Golden-hour light hits the façade
- •More flexibility for tripods and long exposures than inside the archaeological park
Cons
- •No arena context — exterior only
- •Best light requires sunrise or sunset
Best for: Photographers and tight budgets
Frequently Asked Questions
What is the best time of day to photograph the Colosseum?
Sunrise (6:00-7:30 AM) for golden light and no crowds. Sunset from Oppian Hill for warm orange tones. Blue hour (30 min after sunset) for the most dramatic contrast between illuminated stone and deep blue sky.
Are tripods allowed inside the Colosseum?
Inside the archaeological park, selfie sticks are prohibited and professional equipment such as tripods and monopods requires formal authorization from the Parco archeologico del Colosseo. At exterior public viewpoints, normal public-space rules apply.
What are the best phone camera settings for the Colosseum?
HDR mode for high-contrast shots, 0.5x ultra-wide for full interior panoramas, Portrait mode for people shots with the arches, and Night Mode for evening/night photography.
Where is the classic Colosseum photo spot?
Via dei Fori Imperiali or Via Nicola Salvi for the exterior. Level 1 arena overlook for the interior — looking down at the arena floor and underground tunnels.
Can you take photos inside the Colosseum?
Yes — personal photography with a phone or camera is allowed everywhere. Commercial or paid photography requires a permit.
What is the best photo spot for the Colosseum at night?
Oppian Hill park or Via Nicola Salvi. The Colosseum is illuminated every night. Use Night Mode or a 2-4 second exposure on a camera with a tripod.
Can I bring a professional camera and lens inside the Colosseum?
Personal cameras and smartphones are allowed. Larger equipment and supports may be restricted, and commercial or paid shoots require a permit from the Parco archeologico del Colosseo. Check the current official rules before travelling with heavy gear.
What's the best time of year for Colosseum photography?
Late October to early December gives the warmest light, lowest sun angle and thinnest crowds — perfect for clean wide shots. May offers fresh green foliage on Oppian Hill and Palatine. Avoid July-August midday: harsh overhead sun flattens the texture of the travertine and the haze softens distant detail. Winter blue-hour shots (16:30-17:15) are the most atmospheric of the year.